
Hacking the Elizabeth Blouse: Removing the Button Placket

An easy hack for the Elizabeth blouse is to remove the button placket from the front of the shirt. The blouse has so much ease that the buttons aren’t strictly necessary, though I still love the way they look. This is a very simple hack that only requires some quick pattern edits before you cut your fabric. Read below for a step by step tutorial:
Before you cut any fabric, take your paper pattern (make a copy so you will still have the original) and find the front yoke and yoke facing piece. You need to cut a bit off the center front so that the neckline won’t be too wide. I removed an inch, which will make it the same width as the finished button-up version. To do this, measure in an inch from the center front and mark a line parallel to the edge and cut:

You will then treat this pattern piece as you would the back yoke and cut your fabric on the fold. You will still need to cut 2 of this piece, one for the yoke and one for the yoke facing.
2. Next, do the same for your front pattern piece. This step is technically optional. If you leave the pattern piece as is and cut on the fold, your front will be a little extra “billowy” which could still look great. I wanted to remove a little from the center front so that the blouse would still look similar to the original design, so I marked a line down from the second notch in from the center, parallel to the edge, and cut:

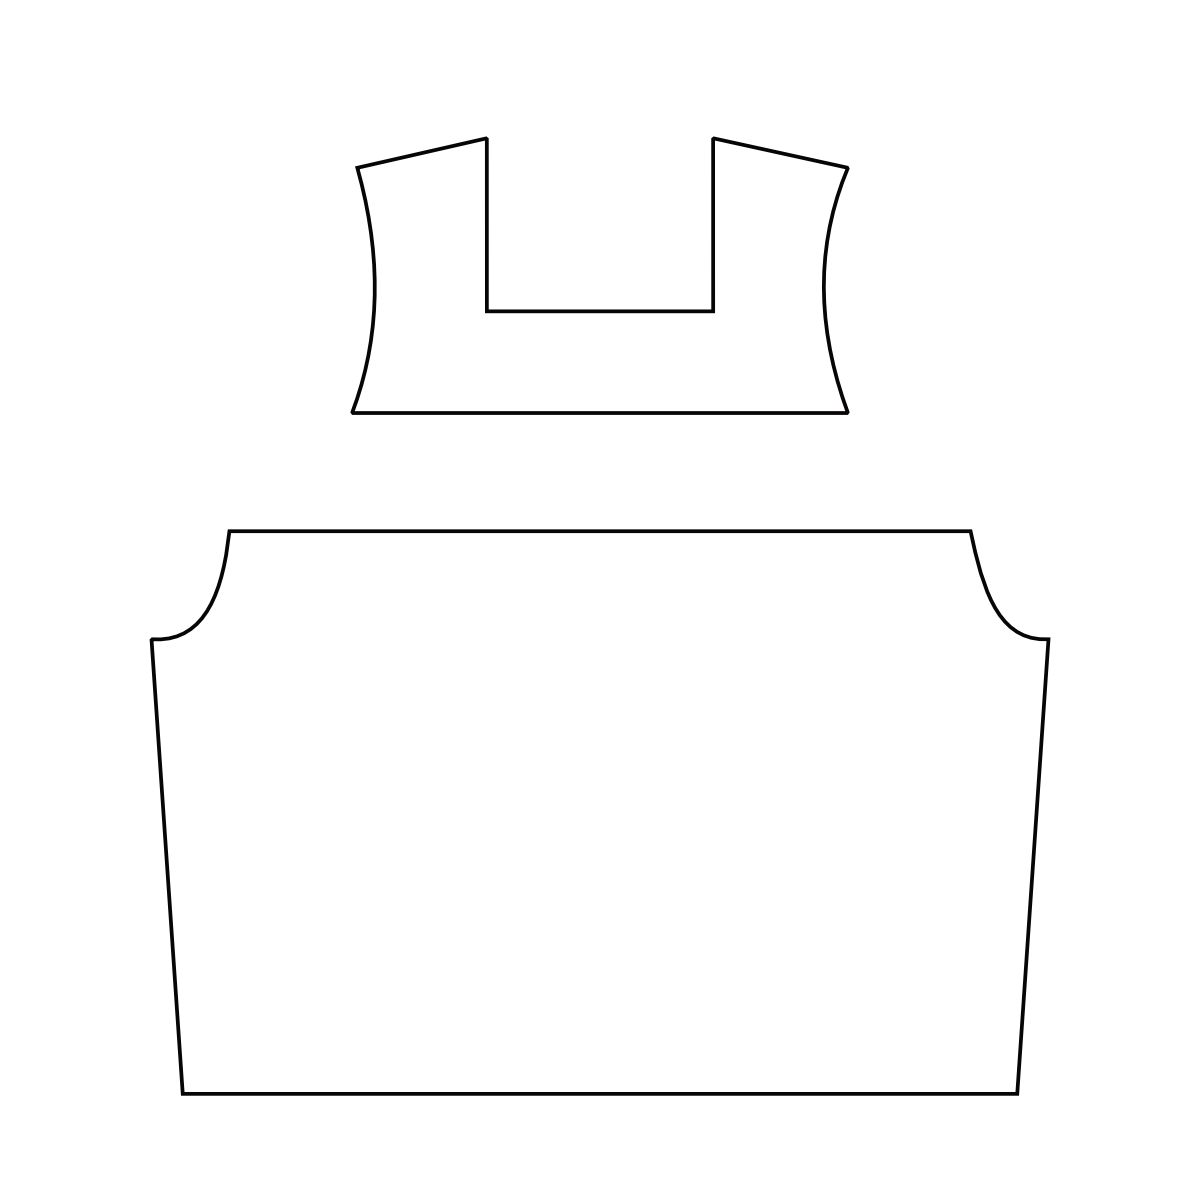
Now treat this pattern piece just like you do the back and cut it on the fold. After you cut your fabric, you should have pieces that look like this:
Now you can simply follow along with the Elizabeth blouse instructions starting from the beginning. Don’t forget to cut interfacing for your new front yoke pieces. This version of the blouse is actually even easier and faster to sew than the version with buttons so it’s perfect for a quick project when you don’t have much time! I’ve been loving mine and plan to make many more. Let me know what you think!